How to Clean a Cat’s Ears: When Cleaning Is Needed and How to Do It Gently
Cat grooming · Gentle outer-ear care
Most healthy cats do not need routine ear cleaning. Start by looking at the visible outer ear, not by reaching into the ear canal. If the ear looks pale pink, has little visible wax or debris, and has no unusual odor, the best choice may be to leave it alone. If you notice redness, swelling, pain, wounds, crusting, discharge, odor, repeated scratching, or head shaking, contact a veterinarian rather than trying to clean the problem away.
When a veterinarian says cleaning is appropriate, keep it conservative: use only a cat ear-cleaning product they recommend, and wipe accessible dirt from the ear flap or outer opening with soft cotton or gauze. Do not push cotton-tipped swabs, fingers, or tools into the canal. Cleaning is routine care, not a way to diagnose or treat an ear condition.
1. Does your cat actually need ear cleaning?
For many cats, ordinary ear care means checking the ears from time to time rather than cleaning them on a schedule. VCA notes that most cats never need their ears cleaned and that unnecessary cleaning can irritate the ear (VCA’s instructions for ear cleaning in cats). The right choice depends on what you can see, your cat’s history, and advice from your veterinarian—not a universal weekly routine.
A quick visual check is usually enough to decide whether you should leave the ear alone or ask for advice. Look at the part you can see without pulling or manipulating the ear uncomfortably. Healthy ears are generally pale pink, with little wax or debris and no unusual smell, according to the ASPCA’s cat-grooming guidance (ASPCA cat-grooming tips). A small amount of ordinary visible material does not automatically mean that the ear needs cleaning.
Do not assume that dark debris, odor, or persistent dirt is simply a hygiene issue. Ear mites and other ear problems can have overlapping signs, and appearance alone cannot reliably tell you the cause. International Cat Care describes signs such as redness, pain, smell, discharge, and head shaking as reasons to seek veterinary assessment rather than self-diagnose (International Cat Care’s guide to ear problems).
2. Know when not to clean at home
The changes listed above are reasons to contact your veterinarian, not to test whether wiping helps. They can have causes that need assessment; wiping the visible surface will not resolve an underlying problem.
If your cat tilts their head, seems disoriented, circles, or has difficulty with balance, seek prompt veterinary help. Do not try to clean the ear first or delay care to see whether wiping improves the signs.
If your cat has a history of ear disease or is currently receiving ear medication, ask the veterinarian before cleaning. A product or technique that is suitable in one situation may not be suitable in another, and routine outer-ear wiping is not a substitute for a prescribed treatment plan.
If you are unsure whether the material you see is ordinary surface debris or a sign of a problem, take a clear description to your veterinarian and ask what they recommend. Avoid probing the ear to get a better look.
3. Choose appropriate supplies
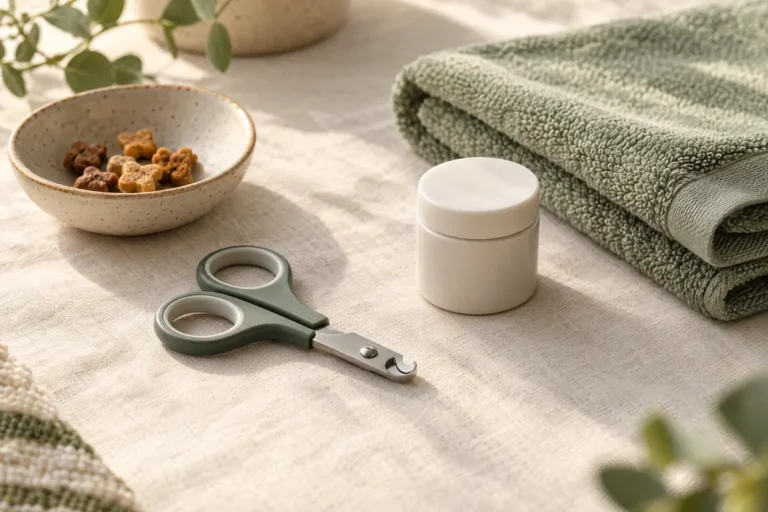
If your veterinarian has confirmed that occasional cleaning is appropriate, keep the supplies simple. You may need soft cotton pads or gauze and a cat ear cleaner specifically recommended by your veterinarian. Follow the product label and your veterinarian’s instructions. Do not assume that every ear product is suitable for every cat or every ear condition.
Avoid alcohol, hydrogen peroxide, vinegar, essential oils, and homemade liquid mixtures. VCA cautions that alcohol and peroxide can irritate the ear, and advises using a veterinarian-recommended cleaning product (VCA’s ear-cleaning instructions). International Cat Care also emphasizes that the ear canal contains delicate tissues and that product choice should be guided by a veterinary professional (International Cat Care’s everyday-care guidance).
Do not use cotton-tipped swabs, tweezers, pointed tools, or your fingernails to remove material from inside the canal. The goal is only to lift visible dirt from accessible outer surfaces. If you cannot reach something without inserting an item into the ear, leave it there and ask your veterinarian.
4. Make the check comfortable for your cat
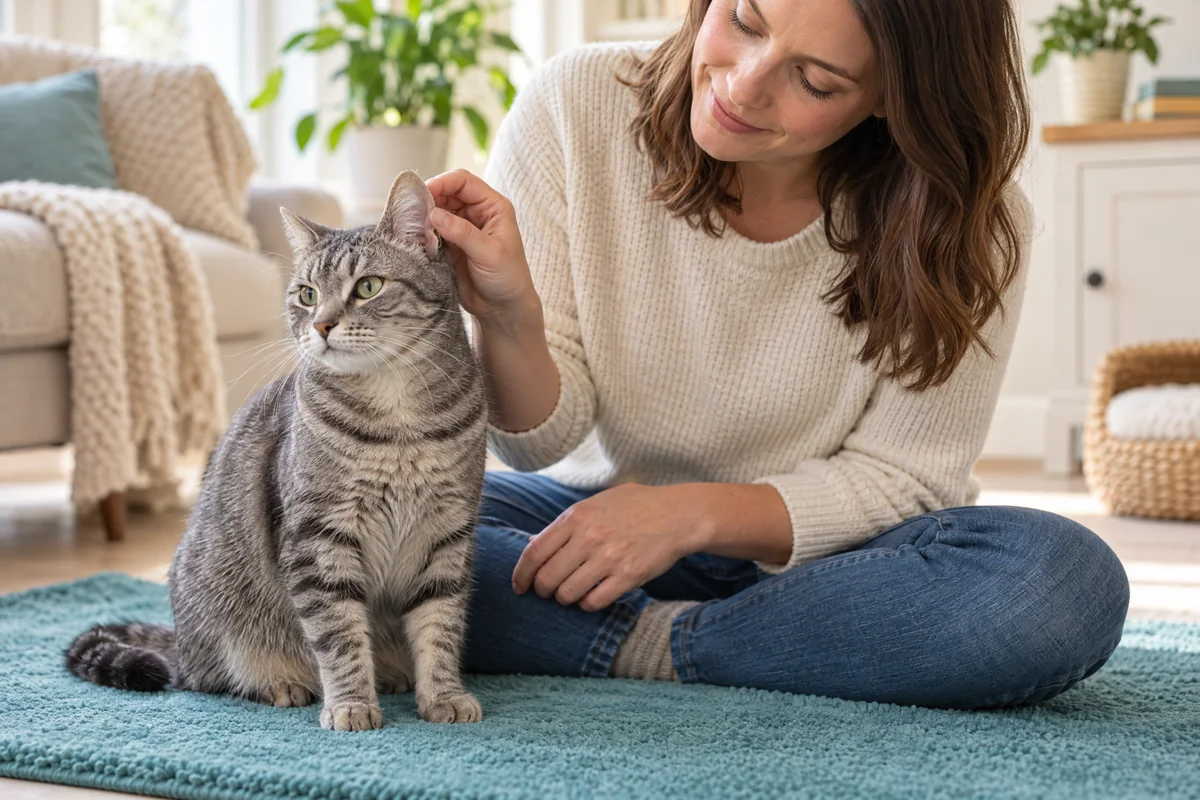
Choose a quiet moment when your cat is already relaxed. Sit at floor level or use another stable, low place your cat can access freely. Put the supplies within reach before you start so you do not need to leave your cat waiting while you search for something.
Let your cat choose a comfortable position and allow them to move away. You can begin with a brief look at the outside of the ear without touching it, then stop. If your cat stays relaxed and cleaning has been recommended, proceed only with the small amount of handling needed to wipe the visible outer surface.
Do not pin your cat down, tightly wrap them, force the head into position, or continue through struggling. If the cat pulls away, flattens their ears, repeatedly turns their head, vocalizes, or seems distressed, stop. It is safer to pause and ask for help than to risk a scratch or turn routine handling into a fight.
If handling is generally difficult, gradual, positive introductions to ordinary grooming can help make future care more familiar, but do not use practice sessions to push through an active ear problem. Our guide to getting a cat used to brushing discusses low-pressure handling principles; it is not an ear-cleaning or ear-treatment guide.
5. How to wipe visible outer-ear dirt gently
Only use this approach when your veterinarian has said cleaning is appropriate and your cat has no signs that call for an examination first.
Step 1: Look at the visible ear flap
Examine only the visible part of the ear, without stretching it or looking deep into the canal. If you notice any of the warning signs above, stop and contact your veterinarian.
Step 2: Prepare the cotton or gauze as directed
Use a soft cotton pad or gauze. If your veterinarian has recommended an ear cleaner for your cat, follow its label and your veterinarian’s directions for preparing the pad. Do not improvise with household liquids or use more product than directed.
Step 3: Wipe only the accessible outer surface
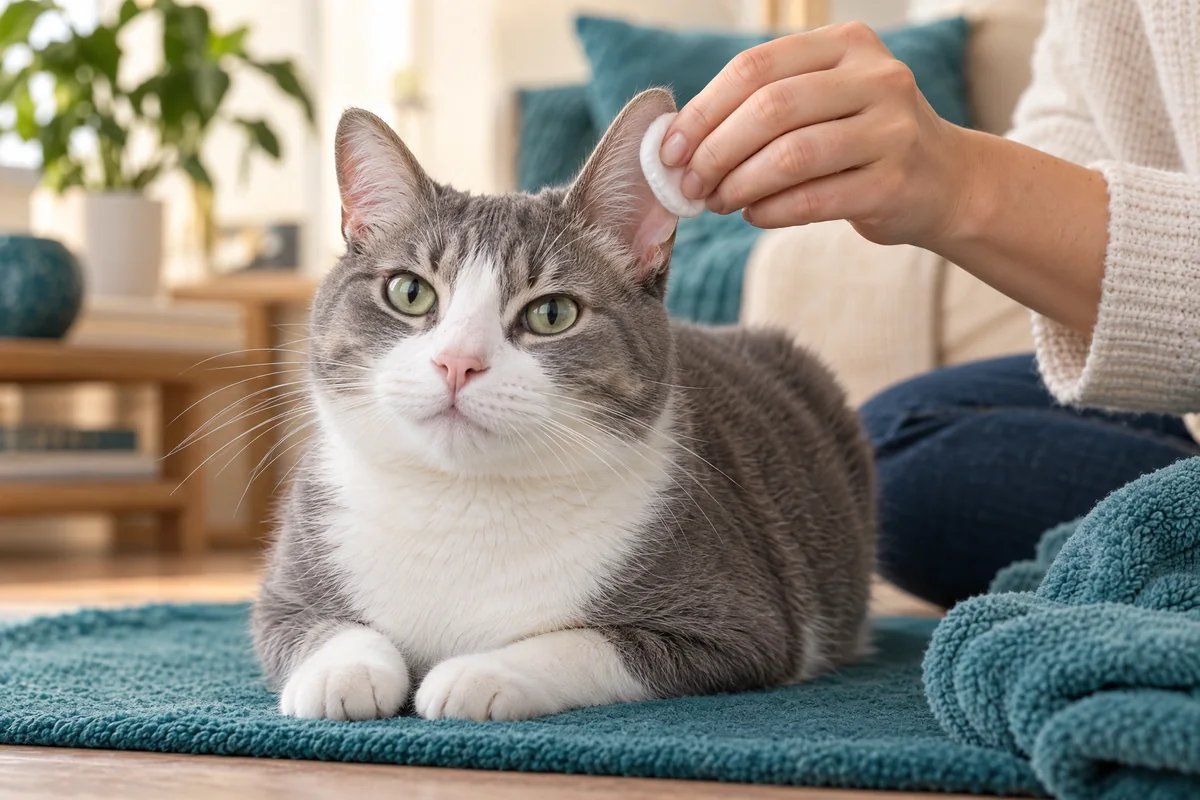
Gently lift visible dirt from the ear flap and the outer opening that you can see without inserting the pad into the canal. Use a light touch; do not scrub, scrape, or chase material farther inside. The ASPCA advises using cotton or gauze to clean visible outer-ear dirt and warns against probing the canal (ASPCA cat-grooming tips).
Step 4: Use a fresh pad if needed, then stop
If a little visible dirt remains on an accessible surface, use a clean part of the pad or a fresh pad rather than rubbing harder. Stop once the visible surface is clean enough. Do not keep wiping because you can still see material deeper in the ear, and do not try to remove dark or stuck debris by force.
You do not need to fill the canal with liquid, massage the base of the ear, or flush the ear as part of this conservative outer-ear routine. If your veterinarian has prescribed a different cleaning method for a specific reason, follow their individual instructions instead of this general guide.
6. What to do if your cat resists or the dirt will not lift
If your cat becomes uncomfortable, stop immediately. Do not hold them still to finish, try a stronger product, or switch to a tool that reaches farther into the ear. Give your cat space and reassess whether cleaning is necessary at all.
If the material does not lift with a gentle wipe, leave it alone. Debris that is deep, stuck, or accompanied by odor, redness, discharge, or repeated head shaking should be assessed by a veterinarian. Repeated cleaning can irritate the ear and may delay appropriate care if a medical issue is mistaken for dirt.
If your cat needs ear care but you cannot do it without distress, ask your veterinary team about the safest next step. A cat-experienced groomer may help with general grooming after medical concerns have been ruled out, but a groomer should not be asked to diagnose or treat an ear condition. PetCoGrooming’s cat grooming services guide can help you explore routine grooming support where appropriate.
7. Common mistakes to avoid
- Cleaning healthy ears just because a calendar says it is time. Many cats need visual checks, not routine cleaning.
- Pushing cotton-tipped swabs or tools into the ear canal. Keep care to visible, accessible outer surfaces.
- Using alcohol, hydrogen peroxide, vinegar, essential oils, or homemade mixtures. Use only a veterinarian-recommended product when cleaning is indicated.
- Assuming dark debris or odor means ear mites. Different ear problems can look similar; ask a veterinarian to assess the cause.
- Scrubbing harder when dirt does not lift. Stop rather than irritating the ear or reaching deeper.
- Forcing the cat to stay still. Pause if the cat resists and seek advice if care cannot be done comfortably.
8. Quick answers
How often should I clean my cat’s ears?
There is no universal schedule for all cats. Many healthy cats do not need ear cleaning at all. Ask your veterinarian whether your cat needs any cleaning and, if so, how often and with which product.
Can I use water or a homemade cleaner?
Do not improvise with water mixtures, vinegar, oils, alcohol, or peroxide. Use a product recommended by your veterinarian and follow their directions. If you have no recommended product and cleaning is not urgent, ask before choosing one.
Can I use a cotton swab if I only clean the outside?
A soft cotton pad or gauze is a better choice for visible outer-ear dirt. Do not insert cotton-tipped swabs into the canal or use any tool to reach material you cannot see clearly.
What if my cat’s ears look dirty but they act normally?
Do not assume the material is harmless or that it needs scrubbing. If it is only minor visible surface dirt and your veterinarian has said occasional cleaning is appropriate, wipe the accessible outer surface gently. If debris is dark, persistent, or difficult to lift, ask your veterinarian.
Can grooming services clean my cat’s ears?
A groomer may assist with routine grooming when there is no suspected medical problem, but signs such as pain, odor, discharge, redness, or repeated head shaking should be assessed by a veterinarian first.
Conclusion
For most cats, gentle ear care begins with looking, not cleaning. Leave healthy-looking ears alone unless your veterinarian recommends otherwise. When cleaning is appropriate, use a recommended cat ear cleaner and soft cotton or gauze to wipe only visible outer-ear dirt. Never probe the canal, use irritating household mixtures, or force your cat to tolerate handling. If you see concerning signs or cannot clean comfortably, stop and contact your veterinary team.
Sources
- VCA Animal Hospitals, Instructions for Ear Cleaning in Cats
- ASPCA, Cat Grooming Tips
- International Cat Care, Ear Problems in Cats
- International Cat Care, Everyday Care for Your Cat
G1 and G2 are original AI-generated editorial illustrations, not real photos. This is routine grooming education, not veterinary diagnosis or treatment.